29 March 2024
0 Comment
Oracle Advanced Support Gateway is a crucial component for managing and maintaining Oracle Engineered Systems effectively. It provides advanced support capabilities, allowing businesses to optimize performance, enhance security, and streamline operations. The installation process involves several steps, including preparation, software download, configuration, testing, and documentation. Each step must be executed carefully to ensure a successful installation and integration with existing systems.
During the preparation phase, it’s essential to review system requirements and ensure compatibility with the Oracle Advanced Support Gateway software. Once the prerequisites are met, the next step involves downloading the necessary software from Oracle’s official website and preparing configuration files.
The installation process typically begins by launching the installation wizard and following the guided prompts to configure basic settings such as network configuration, database connections, and security settings. After completing the initial setup, thorough testing is necessary to verify the accuracy and functionality of the installation.
Documentation plays a crucial role throughout the installation process, providing a record of configuration settings, test results, and troubleshooting steps. Proper documentation ensures that administrators have access to essential information for ongoing maintenance and support.
Overall, Oracle Advanced Support Gateway installation requires attention to detail, adherence to best practices, and thorough testing to ensure optimal performance and reliability. By following the recommended procedures and guidelines, businesses can leverage the full benefits of Oracle’s advanced support capabilities and maximize the value of their Oracle Engineered Systems investment.
As a first thing, Tell the network team to create a vpn tunnel preparation should be made by contacting the network team before Iso Installation.
Login to My Oracle Support at https://support.oracle.com.
2. Click the Patches & Updates tab.
3. In the Patch Search box, click Product or Family (Advanced).
4. Fill in Product = Oracle Advanced Support Gateway.
5. In the Release field, enter 21.12 or greater.
6. Click Search.
7. From the drop-down list in the Release field, select the required Advanced Support Gateway release.
8. On the search results page, you will be presented with a link that takes you to the download page.
9. Click Download on the right side of the page
Boot the server with an ISO image.
E.G. A similar screen appears, shown below
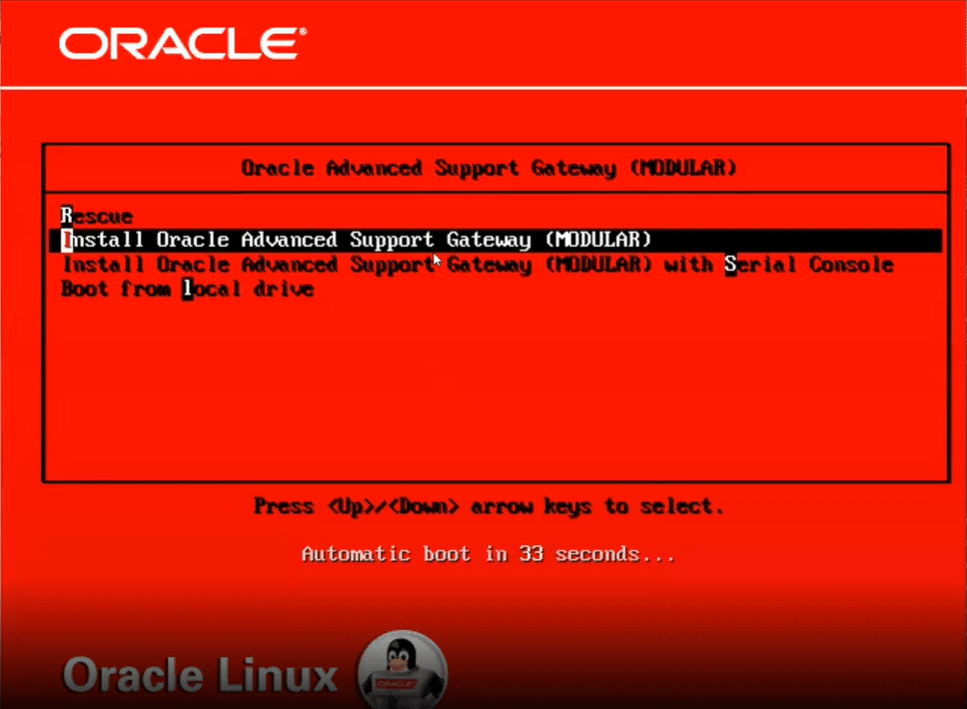
To start the installation process, select Oracle Advanced Support Gateway (MODULAR) Setup, which is the default option.
The initial installation process takes a few minutes to complete.
Before restarting the server, disconnect or disconnect the installation media so that the server can boot the newly installed operating system.
Press the Enter key to restart the server.
When the server restarts, switch to the Gateway configuration in the following section.
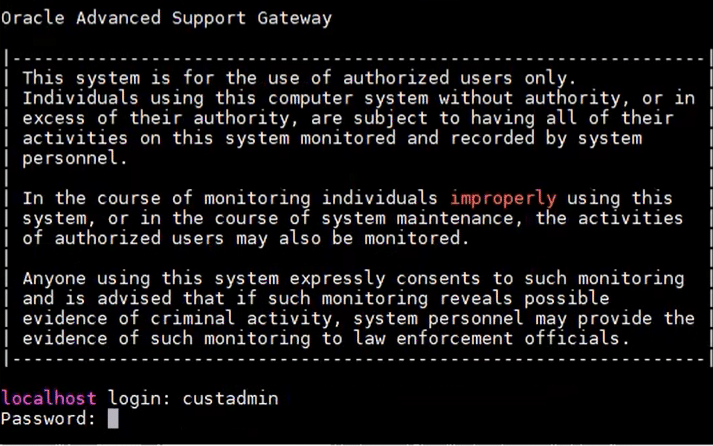
Enter the standard information below.
User Name: custadmin
Password: install
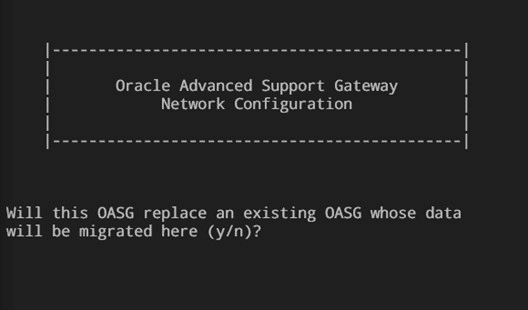
Choose one of the following options:
Enter y to change an existing Gateway and use this Gateway to move data. See the section on Changing an Existing Gateway and Moving Its Data.
Enter n to install a new gateway . Continue with the next step.
Configuration information includes:
The IP address and CIDR of the connection interface (IPv4 and IPv6 if enabled);
The default gateway of the binding interface is;
Connection mode (active backup or connection aggregation);
Auxiliary interfaces for bindings;
A VLAN tag for the interface;
Static routes.
Review the information, edit it as needed, and enter the email address to save the configuration.
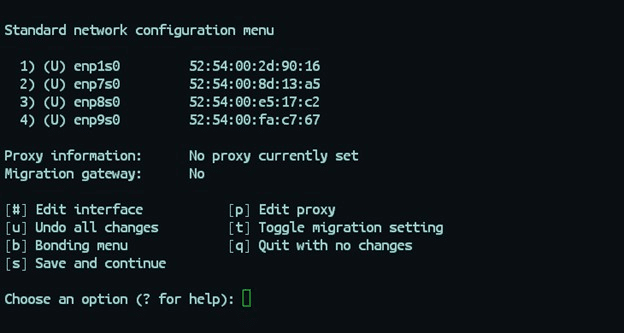
The main link configuration menu containing your saved information is now displayed.

Confirm the network information of all the interfaces you have added.
Examine the network information and select to save the configuration details.
All unstructured interfaces are deleted. All configured interfaces are first deleted (to remove artifacts) and then recreated.
After all the configuration is completed, the Gateway performs a test against the default network IP address.
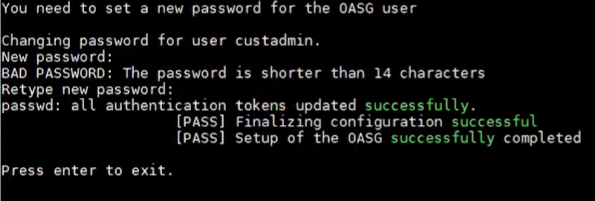
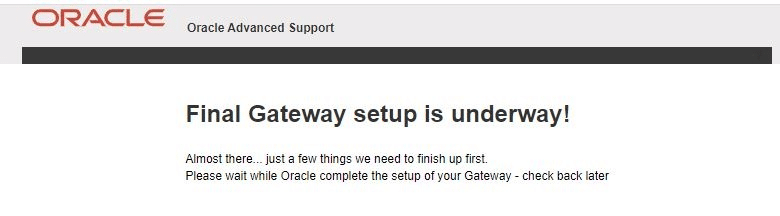
When this test is successful, the Gateway completes the initial configuration. This process takes a few minutes. The latest packages and configuration parameters are downloaded automatically. Do not restart the Gateway during this step.
After the latest packages have been downloaded and applied, you will be prompted to select the Gateway type.
The types of gateways are summarized as follows:
BASIC : This Gateway replaces the Monitoring Gateway.
STANDARD : This is the standard Gateway.
The following screenshot shows sample responses. In this installation, the STANDARD Gateway is selected.

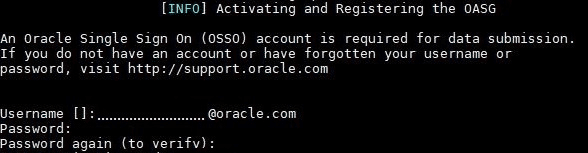
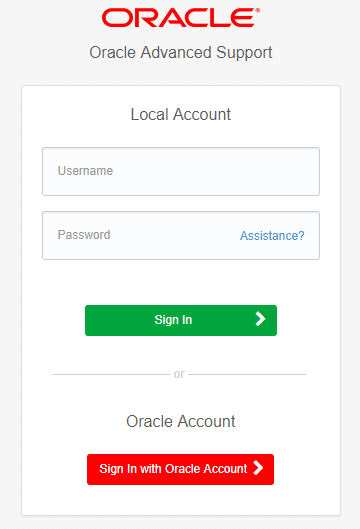
Enter the username and password for your local account and click Sign In, or
Click Sign in with an Oracle Account to sign in using your Oracle login account

Tags: